A 3D Printed case for my Raspberry Pi
May 6, 2014 - 11:38 pm by Joss Whittle 3D Printing L2Program Raspberry Pi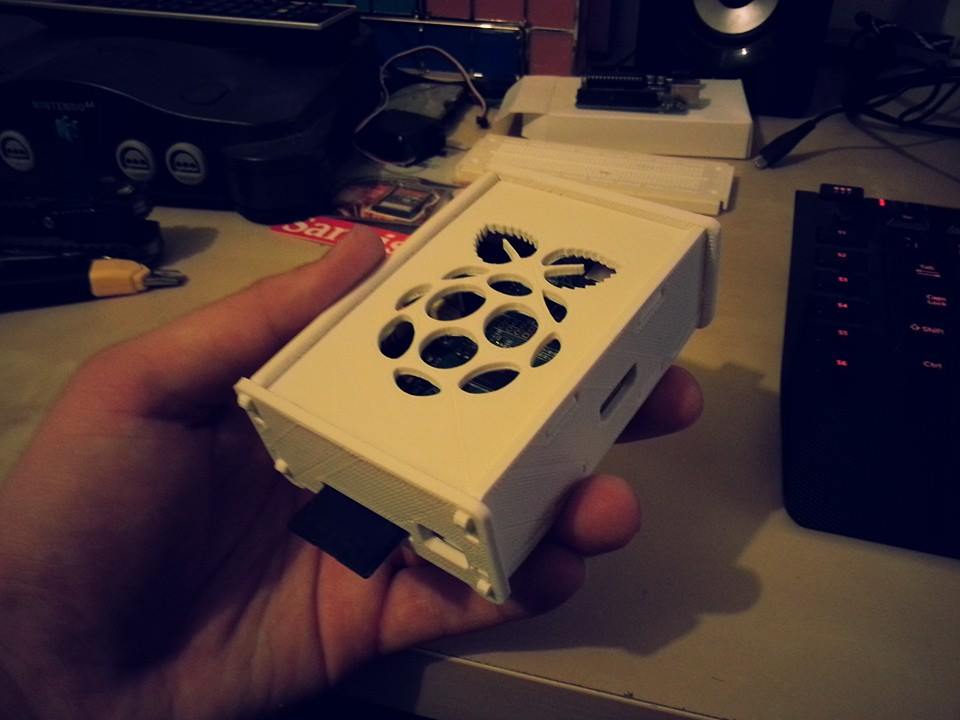
Just a simple 3D Printed Case for my Raspberry Pi. :)

Just a simple 3D Printed Case for my Raspberry Pi. :)
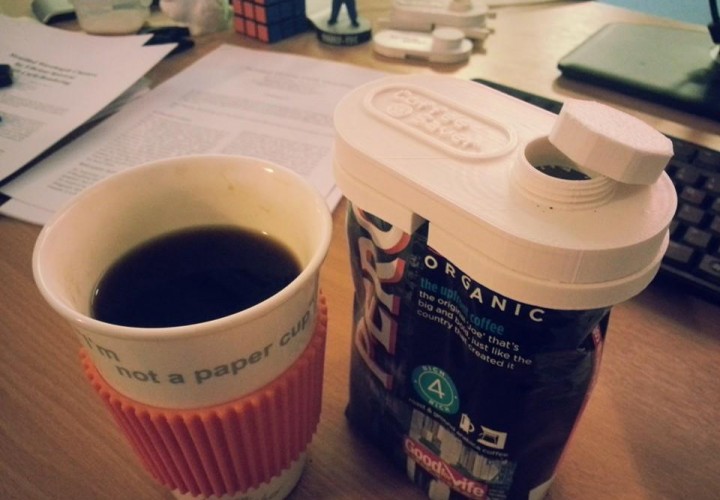
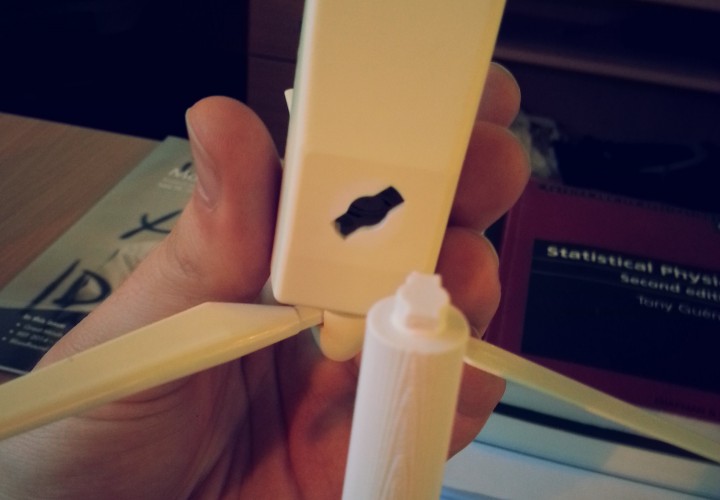
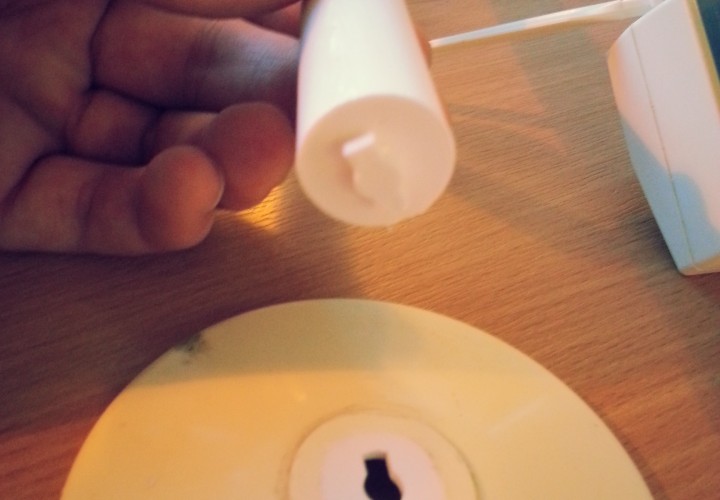
Coffee Saver is a project to create a reusable and versatile cap for an open bag of coffee granules, which can be produced on a 3D Printer.
Find this project on Thingiverse or on Github!
The main CAD software used for this project is OpenSCAD with additional functionality provided by Dan Kirshner’s OpenSCAD Threading Library and PGreenland’s Text Library.


Before I found out I’d be doing a PhD this year I submitted an MEng project proposal to a professor in my department with the idea to build a cheap 3D Printer out of Lego Technic. The plan was to use the ready available, and easy to assemble parts and motors of the Lego Technic along side a powerful yet easy to program Arduino unit is a brain. I even got so far as to make some preliminary CAD mockups and a working mockup of the chasis.
But with starting my PhD research, I was forced to shelve the project (like so many others) so as to focus on my actual work.
Lately however, it came to my attention that the Computer Science department had bought a Makerbot Replicator 2X 3D Printer which is available to members of the research group as both a research tool, and as a teaching tool. The mumbling consensus in the department is that it’s fine to use the printer “within good reason and common sense…”, and that the logic of “teaching yourself to use it means you can potentially teach undergrads about it in the future…” means that as long as it doesn’t hinder us or other peoples research it’s fair to use it!
After all, what’s the point in owning the fun toys if we don’t play with them? :)

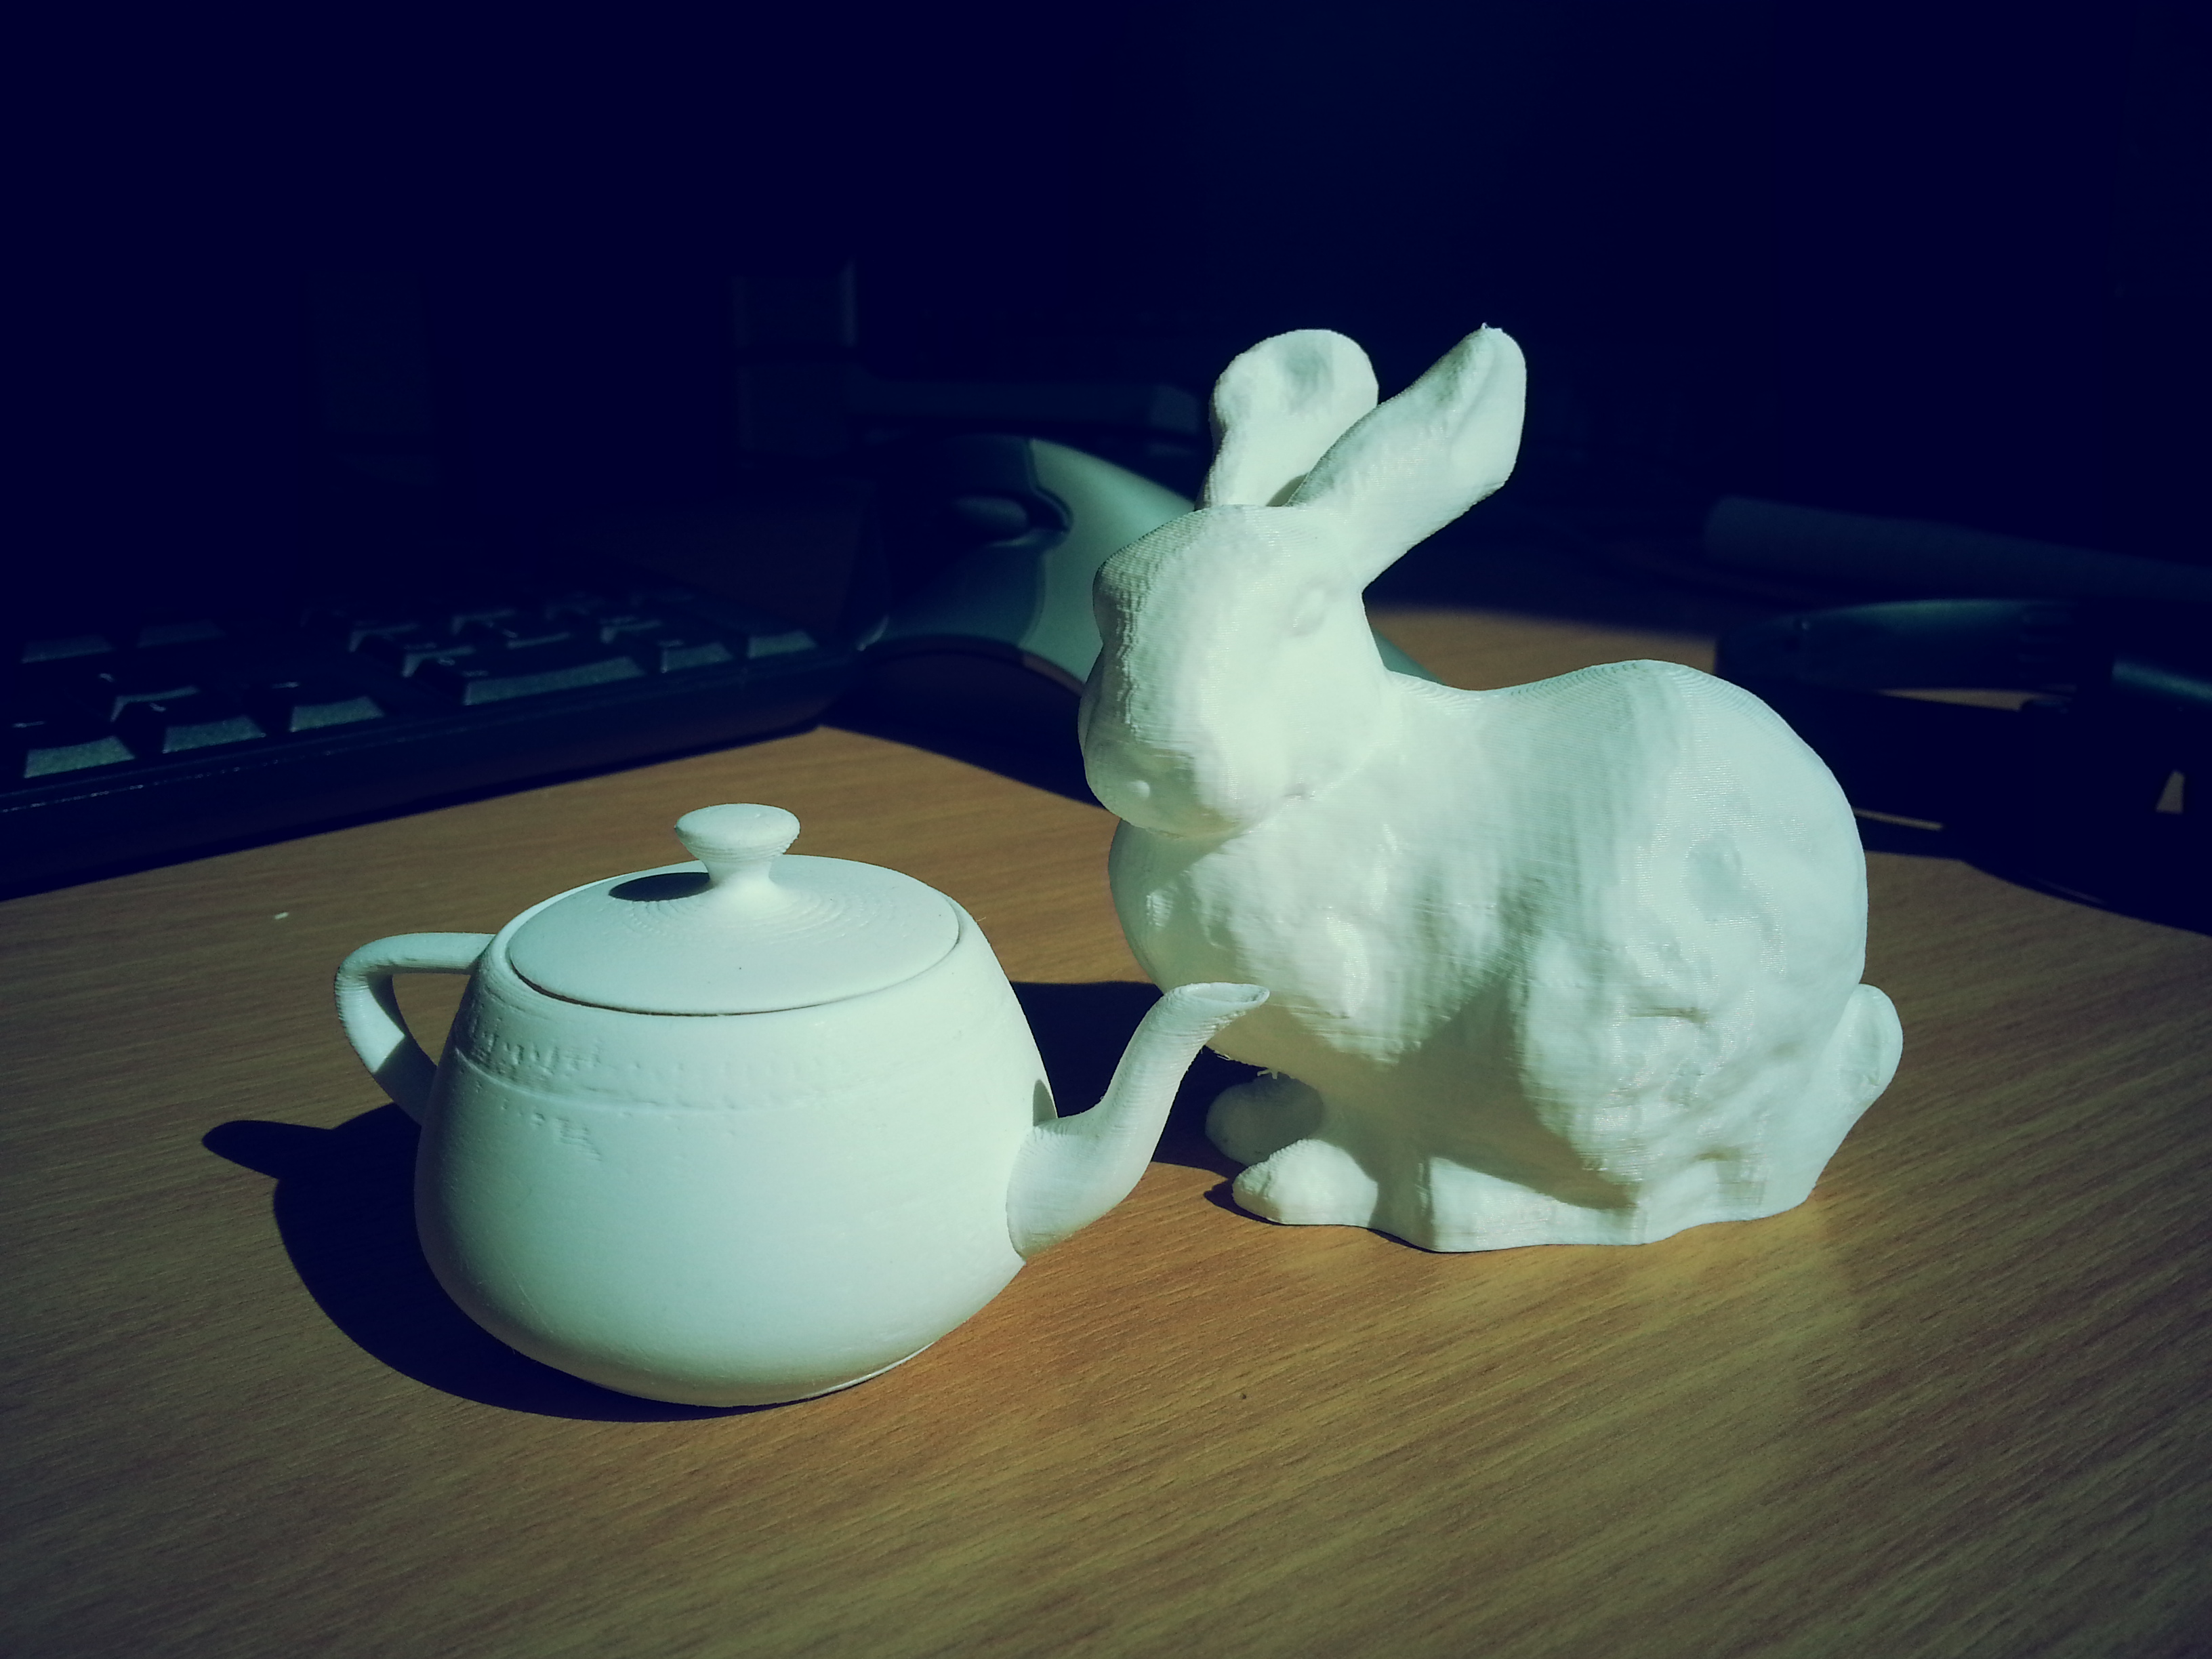
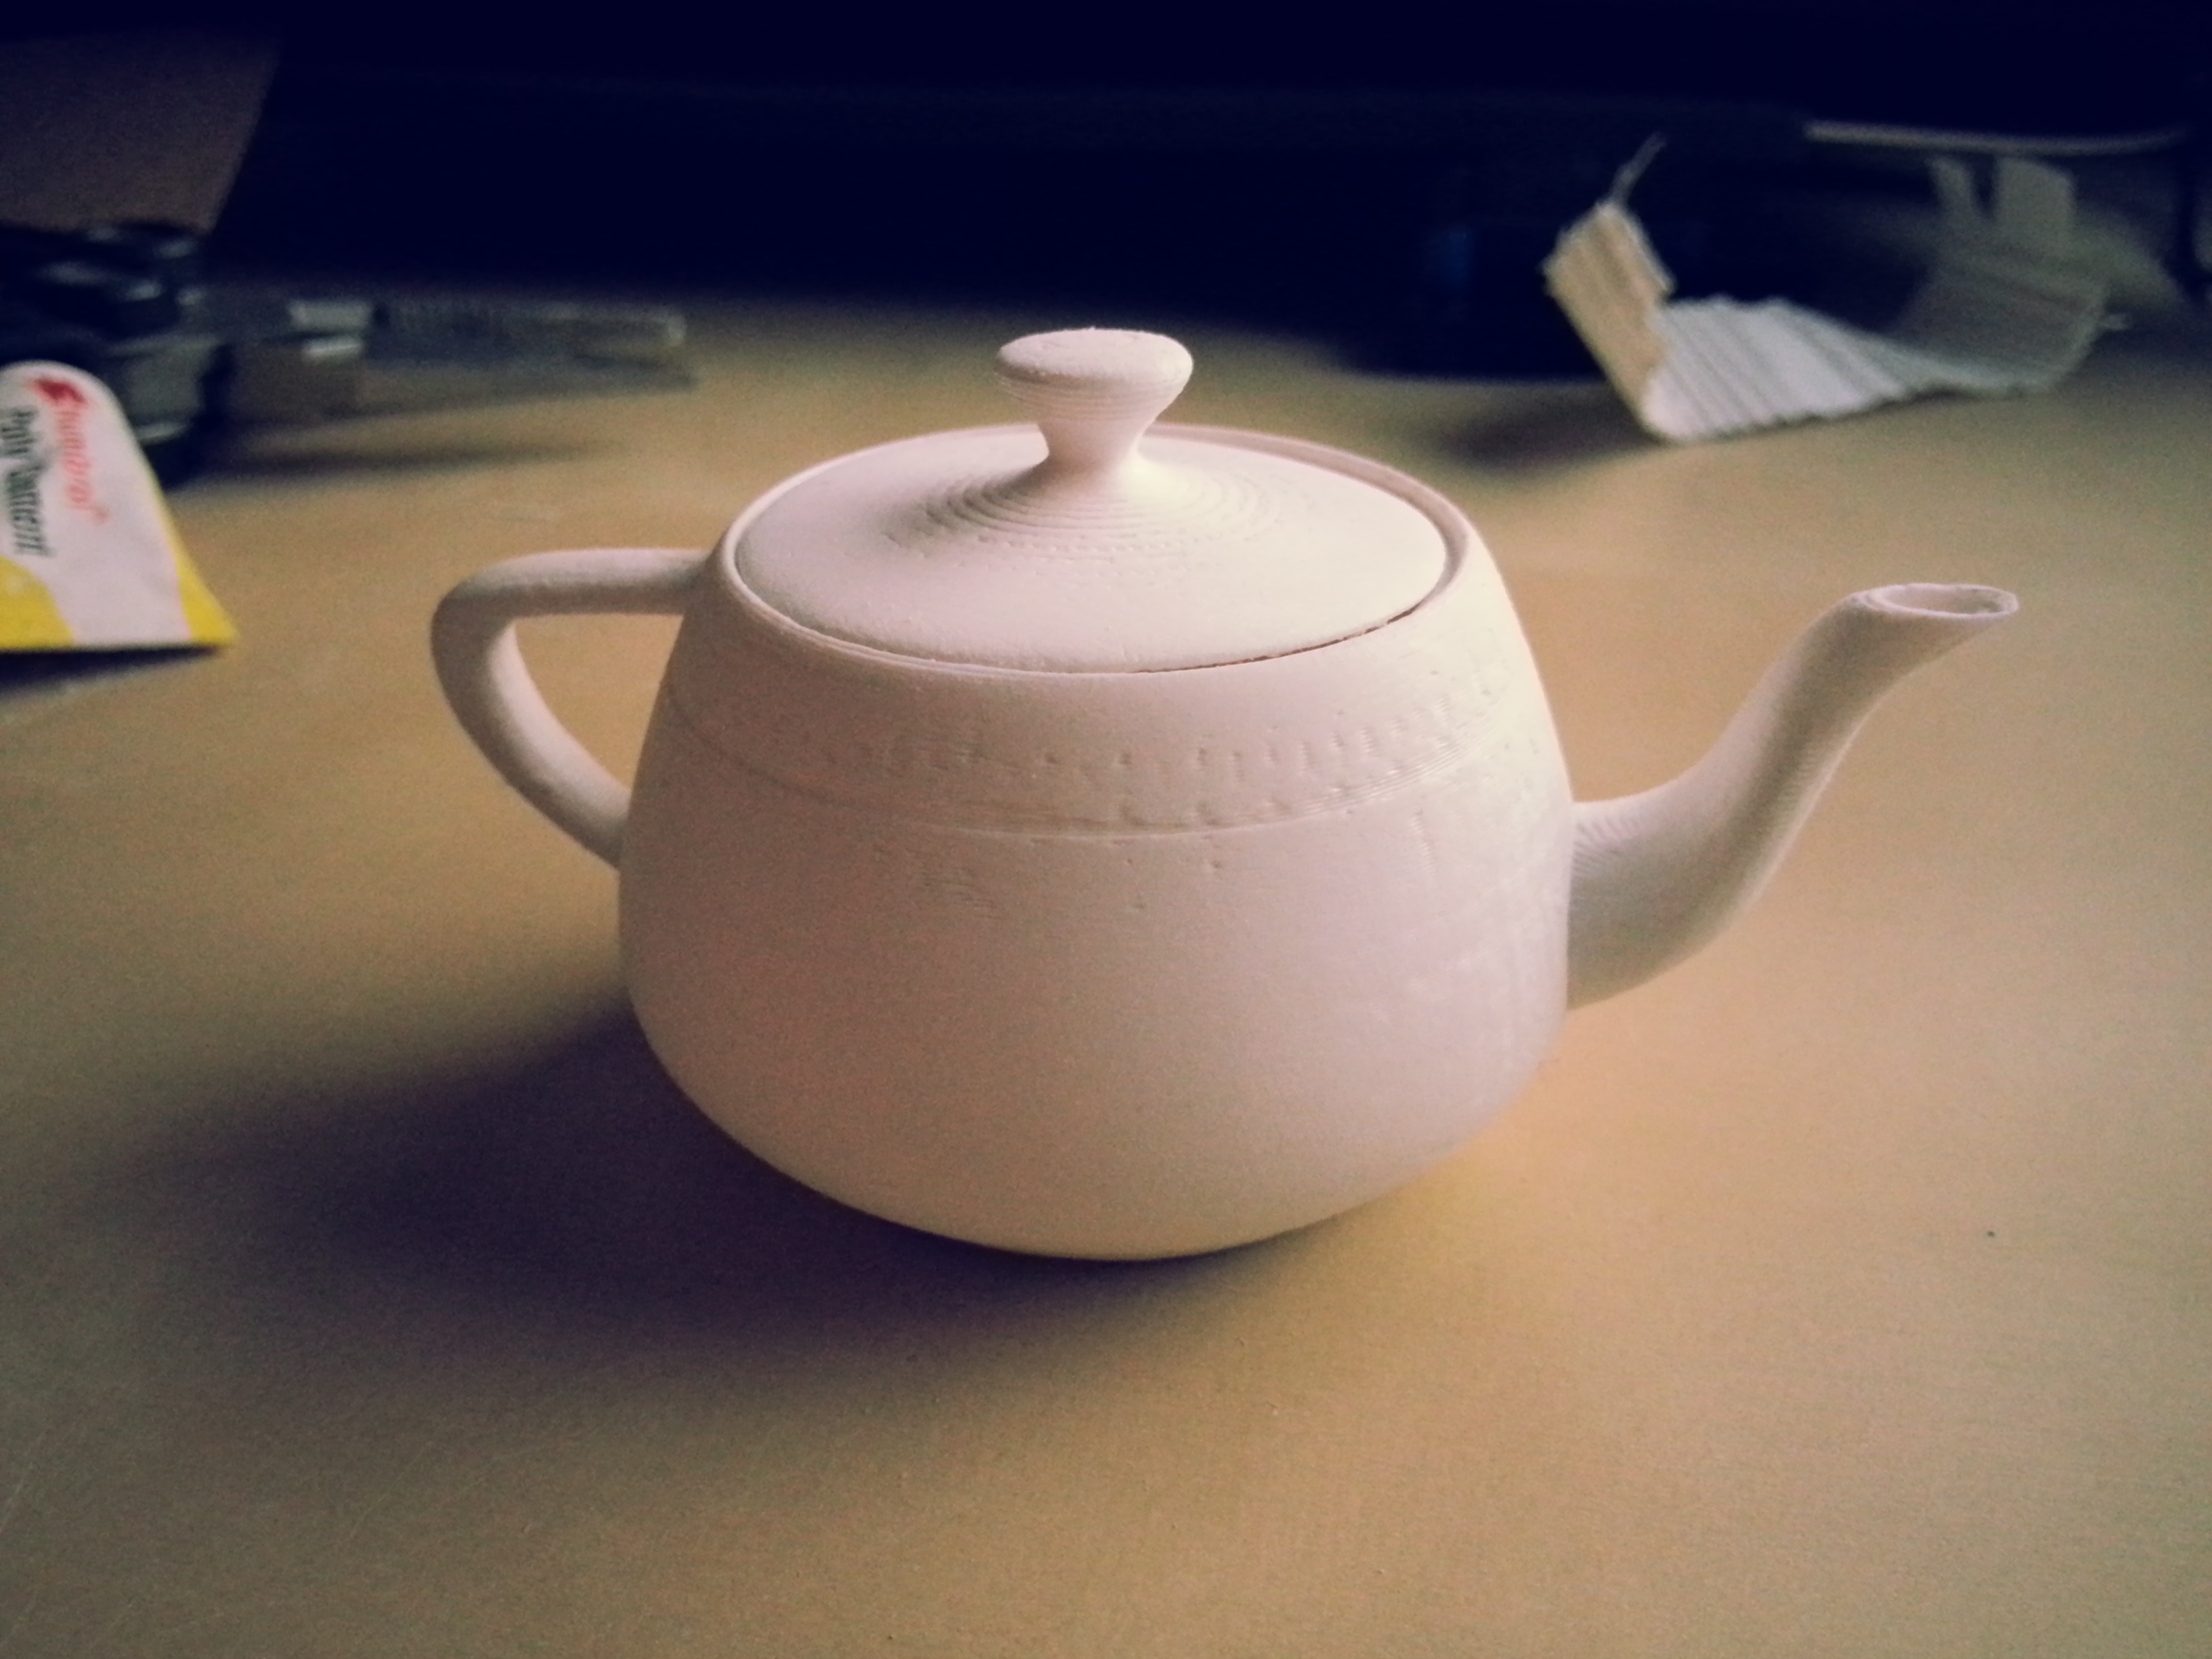
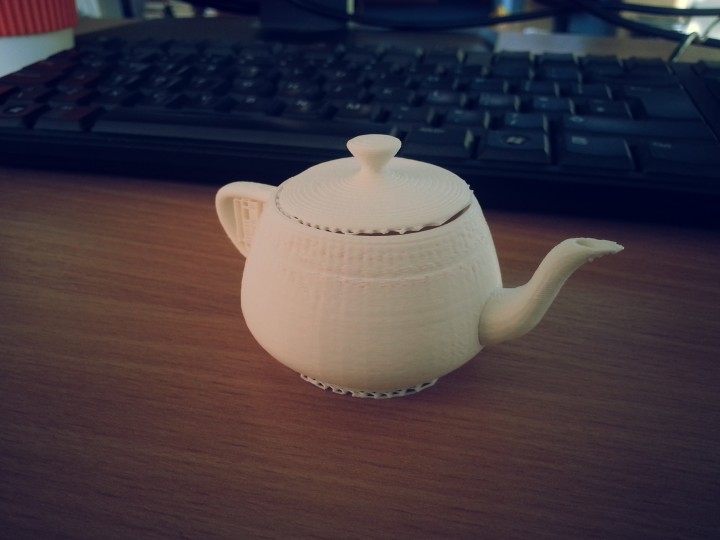
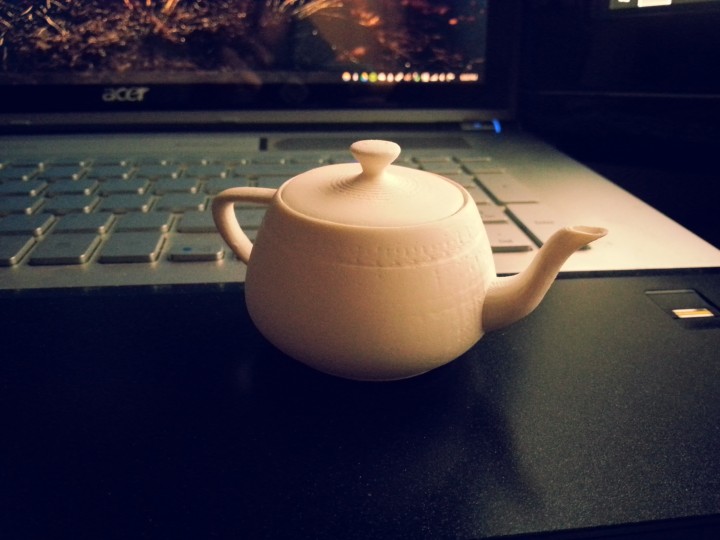
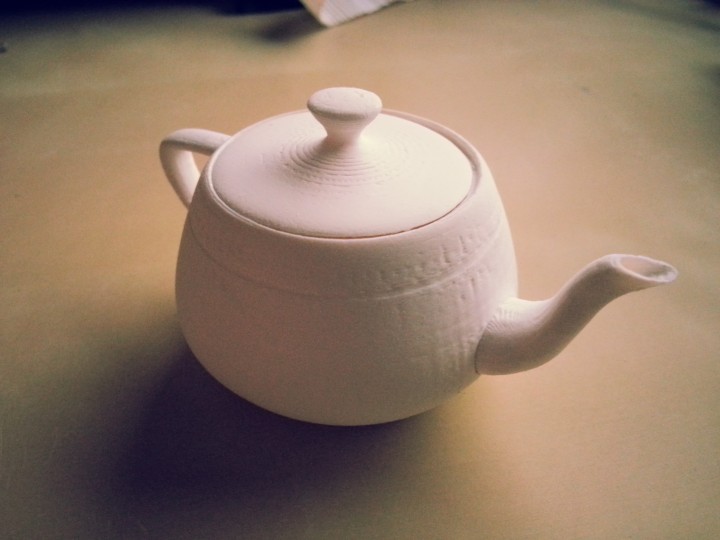
With this in mind there’s been something on my list of Stuff I want to own: for a long time, that is of course a Utah Teapot!
The Utah Teapot is a famous dataset in the Computer Graphics community and used to be an official measurement of graphics performance in terms of Number of Teapots rendered / Second (I’m not kidding).
After a few hours of playing around modifying the original dataset in Autodesk Maya to flesh it out as a proper object it was time to print! Yes I know, I almost certainly could have found a better model online that was properly modified and tested on a 3D Printer.. but this is a dataset I have been rendering and working with for years now and it only felt right that I should try to modify it myself to print one. Though if I ever go back to print another teapot, bigger, I’ll definitely be using one like I linked that was designed in AutoCAD rather than an Artistic Modelling package.
The whole print took just over 100 minutes to complete, and I probably spent an additional ~30 minutes or so sanding it down with some fine grit sandpaper to give it a smooth finish.
This morning I was neck deep in code writing a Bi-Directional Path Tracer and this evening I’m building a 3D Printer out of Lego… If only I had the attention span and patience to actually finish a project before starting another. Oh well.
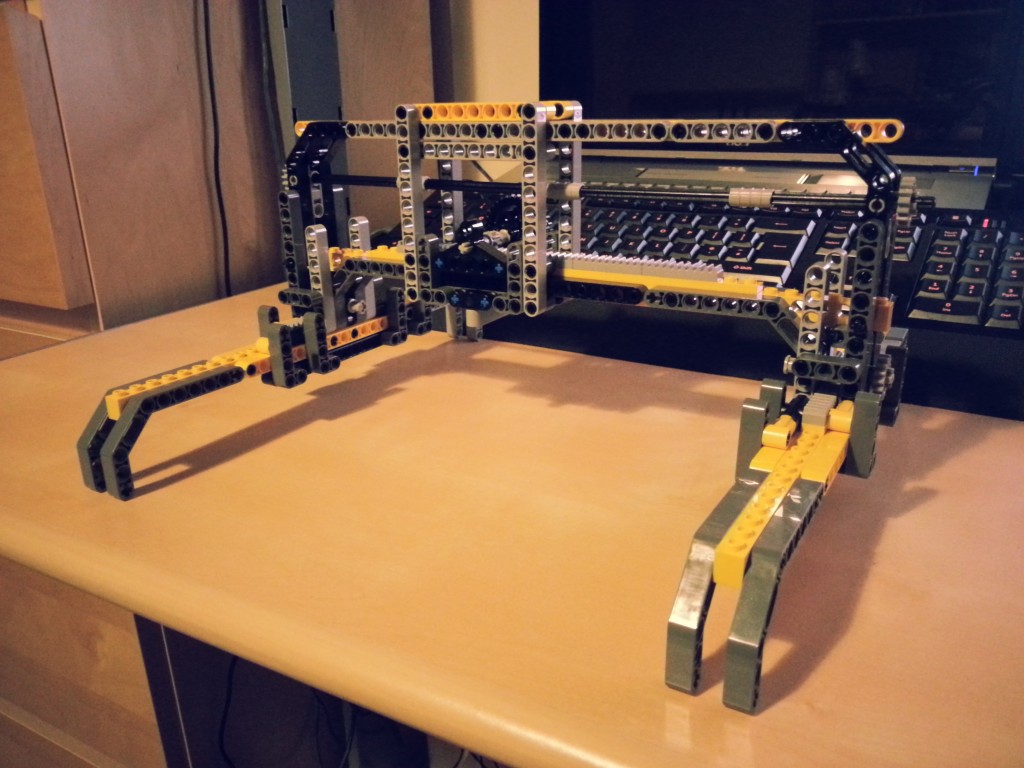
Continuing on from my previous post, in the end I actually trudged down the garden to the shed and pulled all my old Lego Technic out of storage. A quick session of sorting out what kind of bits I had and then thinking about how I could adapt the designs I had bad in CAD to work within the limitations of those parts I decided to just delve in and see what I could make. I was surprised at how much Lego I actually had, but then again my family was always really into Lego & Meccano; and I was quite fond of Knex too come to think of it.
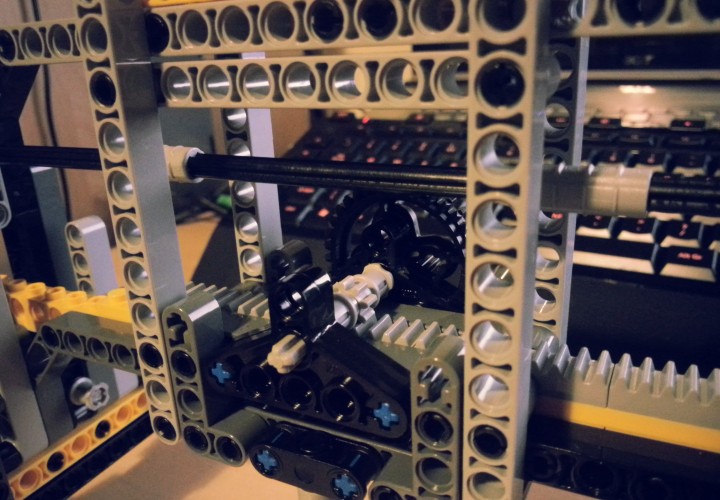
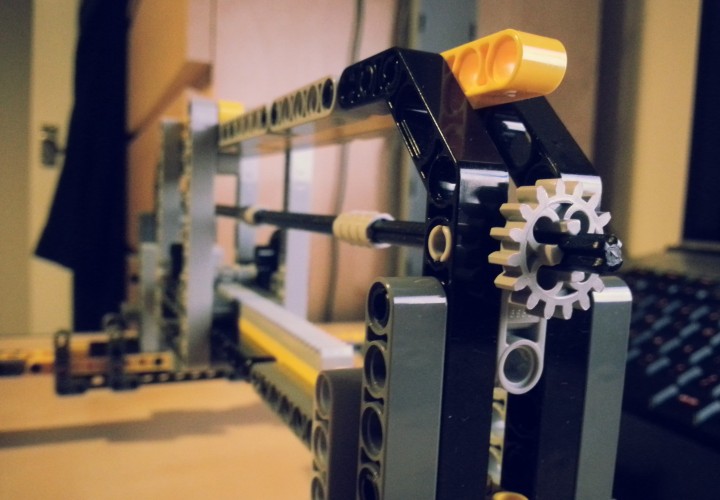
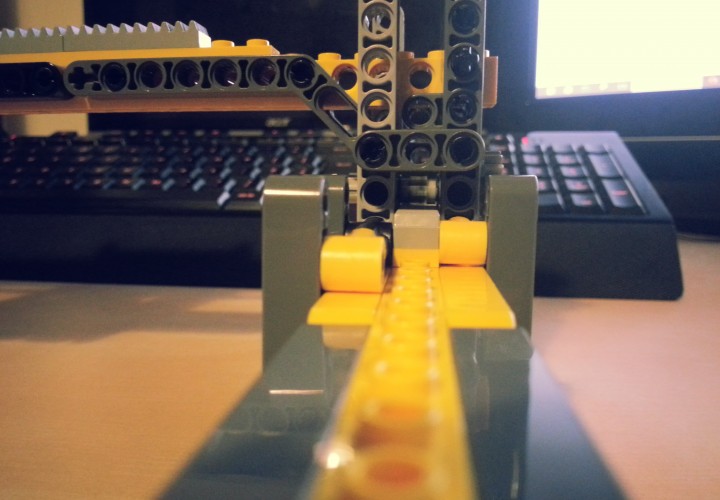
As it turns out the amount of Lego Technic I do have is more than enough to build the frame and mechanics for the first two axes of the Printer. There are some crucial areas however, where I have ran out of very important bits needed for this specific application. For instance the flat toothed strips used to make the tracks for the carriages to walk on were in short supply. I managed to place them on the top carriage such that the X axis gondola can fully utilize them with no waste. However after laying the X axis track there were only four of the tooth strips left; meaning that for now each side of the Y axis tracks only has two toothed segments. I’ll need to get more of them to finish the Y axis along with some gears and extra chain for connecting the cross axle to the walking gears.
It was possible to make some improvements to the initial design during this first build step. Namely the Y axis walker which holds the X axis and gondola is considerably thinner than in the original design, however the gondola still has nearly the same amount of movement. This was achieved partly by making the two connections to the Y axis tracks thinner than their originals, which allows the gondola to travel much closer to the ends of the track. The condensed size also keeps the frame more rigid than a wider variant would have been.

A month or so before I found out I would be starting my PhD in October I was still under the impression that I would be doing an MEng and with it another dreaded dissertation project. This time however, the project would be to do with a software engineering problem, as opposed to last years which could be either industrial, research based, or software engineering.
After much deliberation looking at the shockling short list of projects I decided that I didn’t particularly want to spend a year working on any of them. Not that they were all bad per say, just that if you’re going to spend a whole year working on a single project you best be sure you care about it.
One thing that did interest me about the projects however, a few of them involved using Arduino and embedded systems. This got me thinking, what could I do with Arduino that I could propose as my own project idea? Inspiration didn’t take long, that night I stumbled across this gem while watching random videos on Youtube.
I loved it straight off, to use Lego Technic and Mindstorm NXT to create a working CNC machine! Perhaps this would make a good masters project?
Alas the the project is very much closed source and even the designs for the machine are not available.
I have however, been able to reproduce the design of the machine and it’s mechanics in 3D using Lego’s 3D Autocad software, Lego Digital Designer. This was a long and painstaking process of taking screenshots of the above video and blowing them up to see the finer details (thank god for 1080p Youtube streaming) and mixing this with my methodology for how I would build this machine if I was given an unlimited set of lego. The result of my reconstruction can be seen below. While it is not a complete build (I omitted the static Y-Axis track that the carriage pictured would ride on), it is the technical majority of the machine.
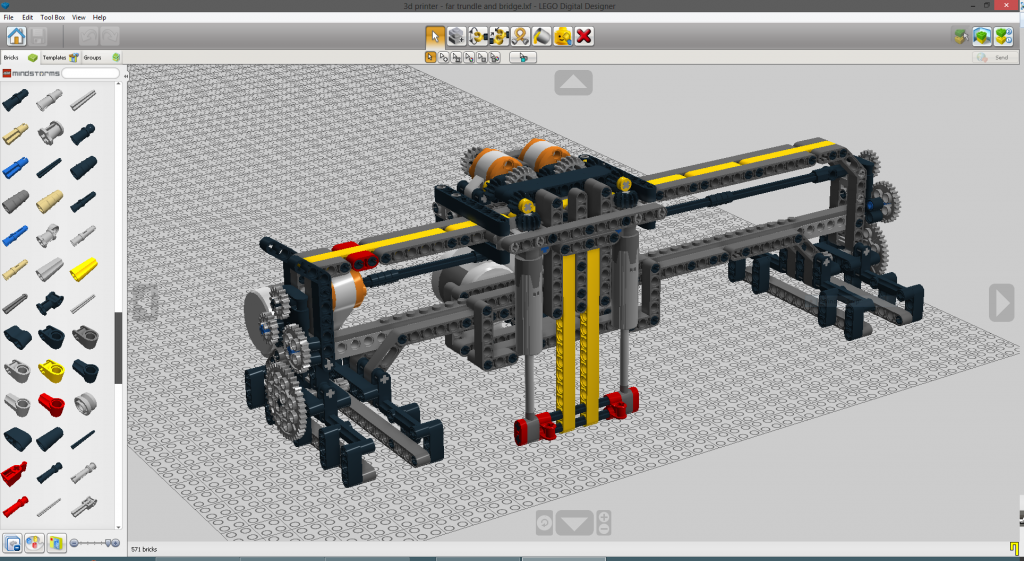
I believe that this design can even be further improved upon to use less lego while allowing for a larger and more stable device to be constructed. The main limitation with increasing the track size of the device in it’s current configuration is finding a way to proportionally increase the size of the Z-Axis (vertical). Currently this axis uses two Lego Technic linear actuators to move the tool carriage up and down. However, the actuators have a fixed and limited range of climb which cannot be altered. A difference approach might be to use a threaded bar configuration to make a track which moves up and down instead with a small tensioning system to remove vibration and slack from the printing.