May 8, 2013 - 5:55 pm by Joss Whittle
C/C++ Dissertation GPGPU Graphics Java University
Rejoice! For after one hell of a long year finally the dissertation is done dusted and thankfully handed in!
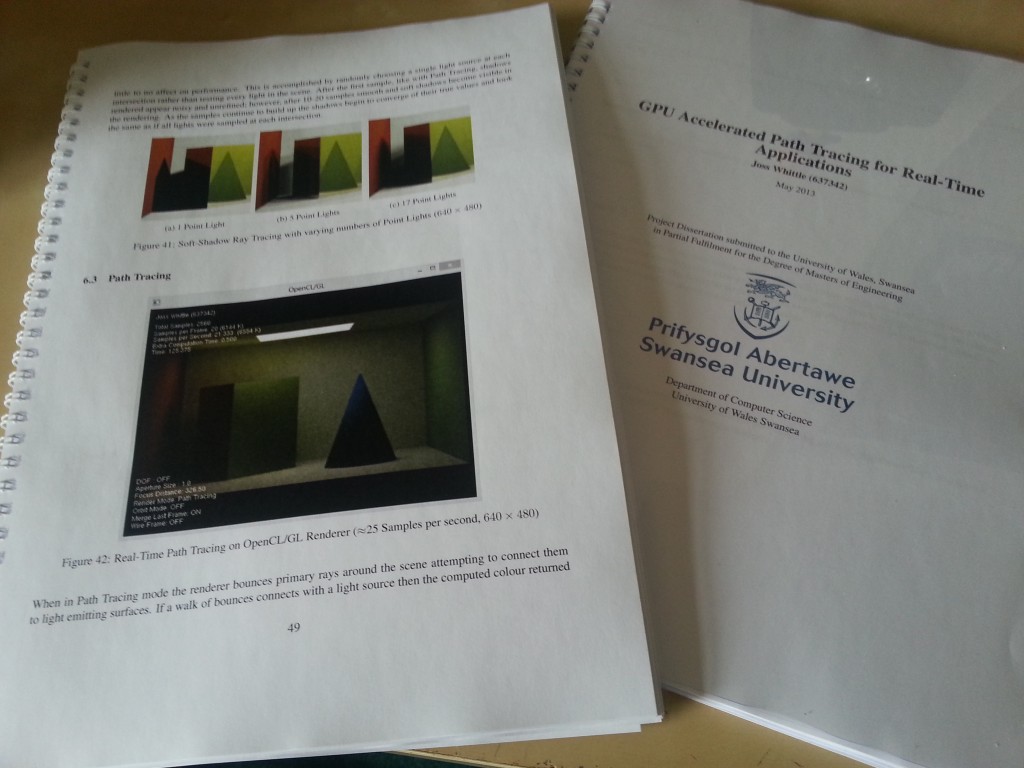
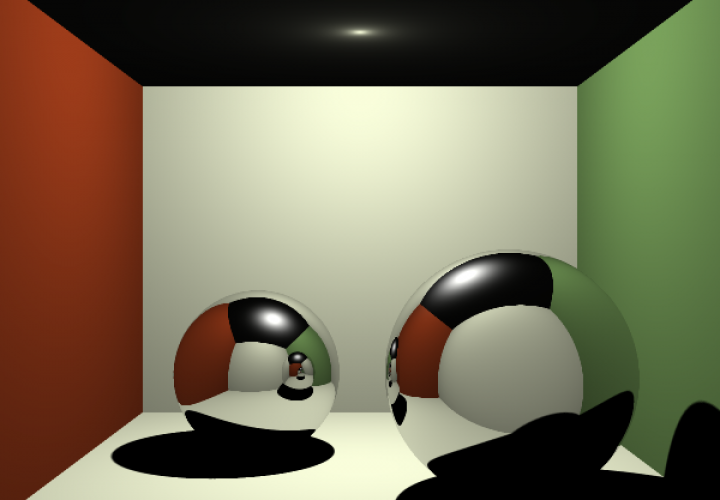
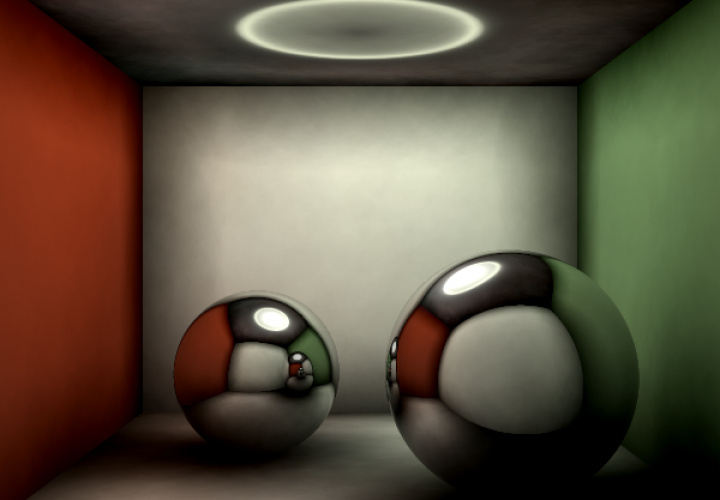
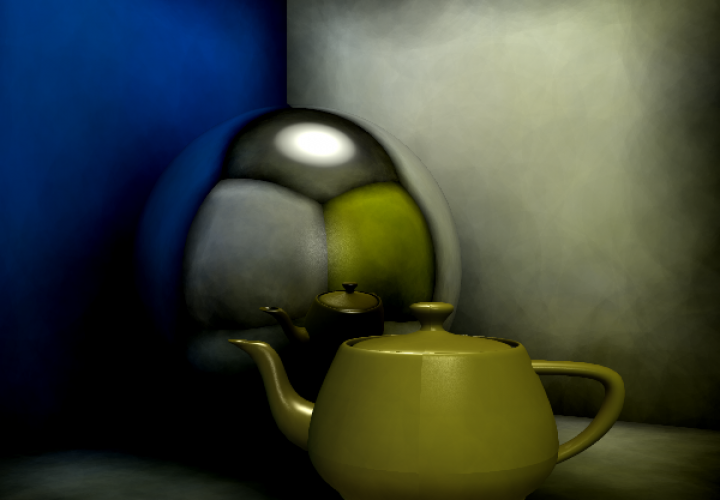
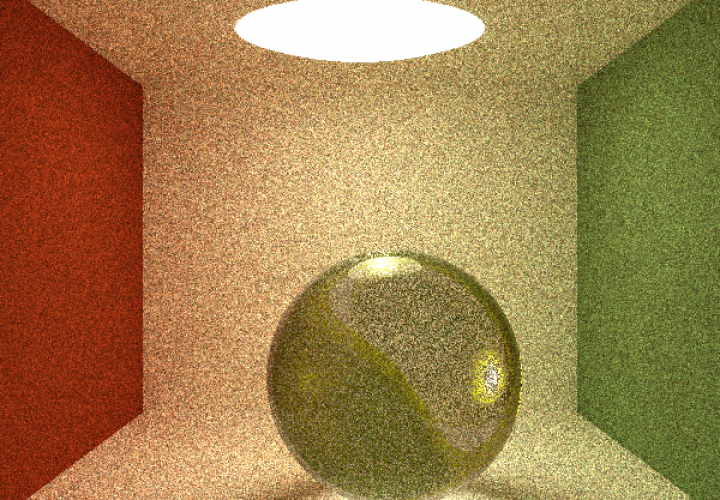
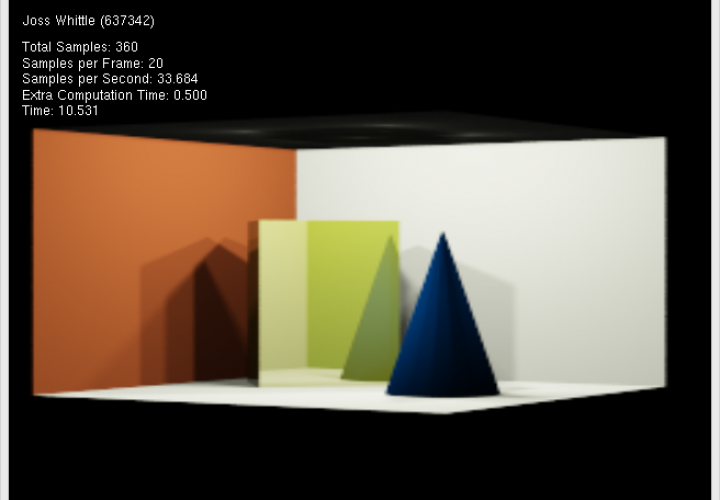
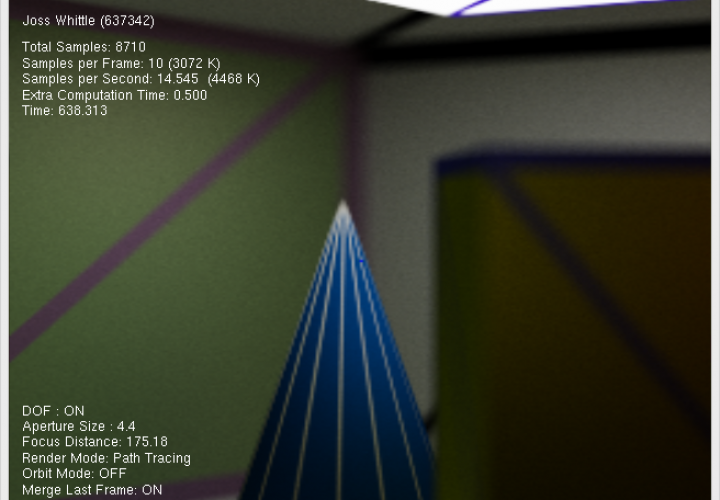
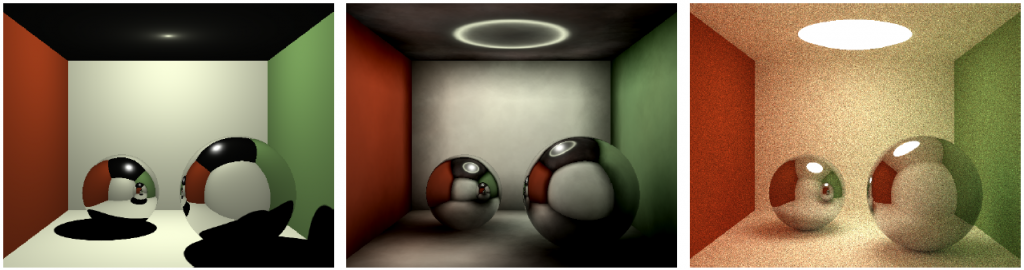
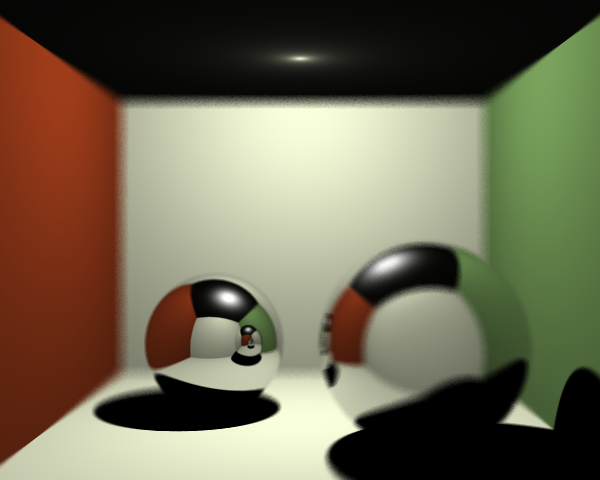
This was the final result, a real-time path tracer written in C using OpenCL to compute frames and OpenGl to render them. Here is a simple cornell box style scene that was left to converge for a couple of minutes.
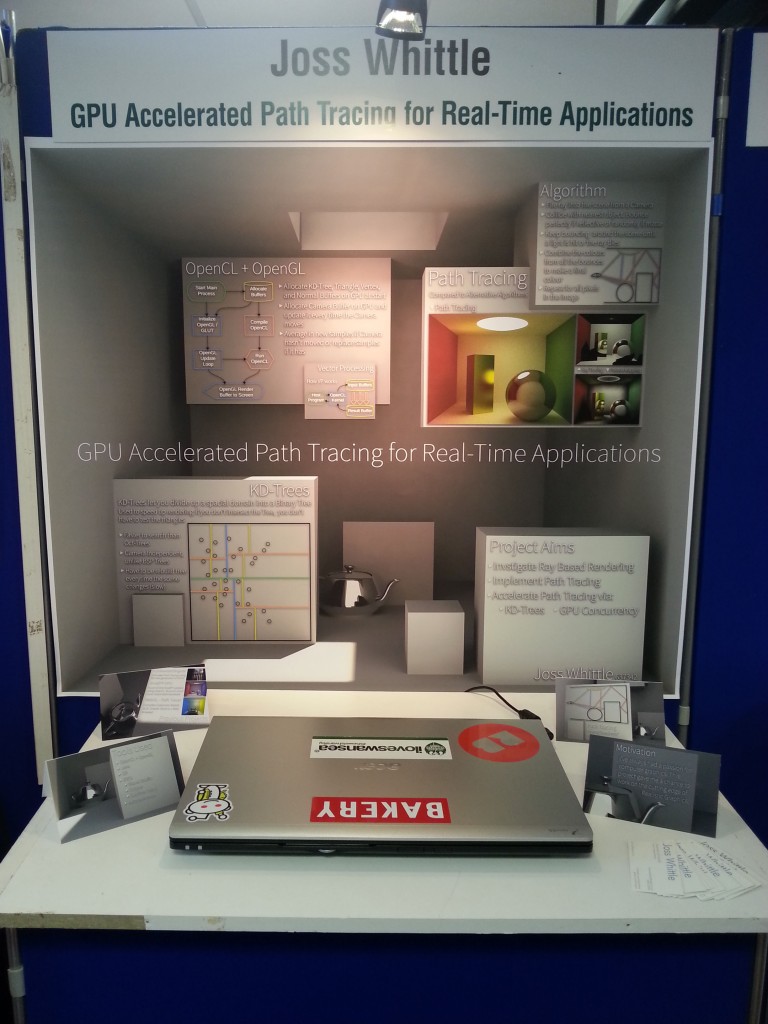
My project fair demo. My graders seemed to like it (I bagged 92% for the Viva!) and so did the PhD students and my coursemates… Not so much praise from the school kids, the phrase “Realistic? Looks nothing like Call of Duty” was used…. First time I’ve ever wanted to smack a child jokes but what can you do. The tech industry people didn’t seem to care for it either which was rather miserable because I had to stand there for 5 hours in a boiling hot room while no one wanted to know about my work.
But I can’t really complain about not getting any job offers because… I got offered a summer research position unconditional fully funded PhD Studentship at the uni! So this summer I’ll be staying in Swansea to effectively continue this project with the goal of getting Path Tracing working much much faster and on mobile devices (tablets most likely).
Here’s an album showing the progress from start to finish throughout the year.
Tags
Global Illumination, OpenCL, OpenGL, Path Tracing, Ray Tracing
January 23, 2013 - 3:19 pm by Joss Whittle
C/C++ Dissertation GPGPU Graphics Java University
Thank goodness for that! After 4 solid weeks of exam revision, exams, getting my Dissertation Presentation done and actually going to this conference and presenting it I am finally free to relax and to sleep!!! (for 4 days until lectures start up again :/ )
I feel like I barely ever post on L2Program any more, not that too many people still read and I seldom check my analytics these days; but regardless, I wanted to post a quick update to show what I have been working on over the last month.
Below is an embedded version of my Presentation Slides that I used the other day. I was so nervous going into it, I usually visibly shake when I am on stage (and/or faint) but this time it went really well. I really do think what they say is true about presentations. That if it’s something you really care about and find interesting that you can present it much easier.
But no, this time I appeared to present my work quite well (if I do say so myself) and I bagged myself a 95 out of 100!
Anyway, here are the slides; they aren’t too bad (boring) to look at but possibly a bit out of context without my nerdy ramblings over the top of them.
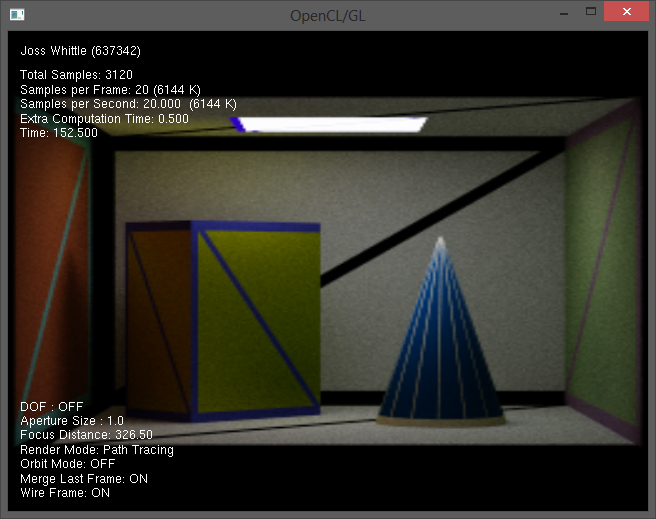
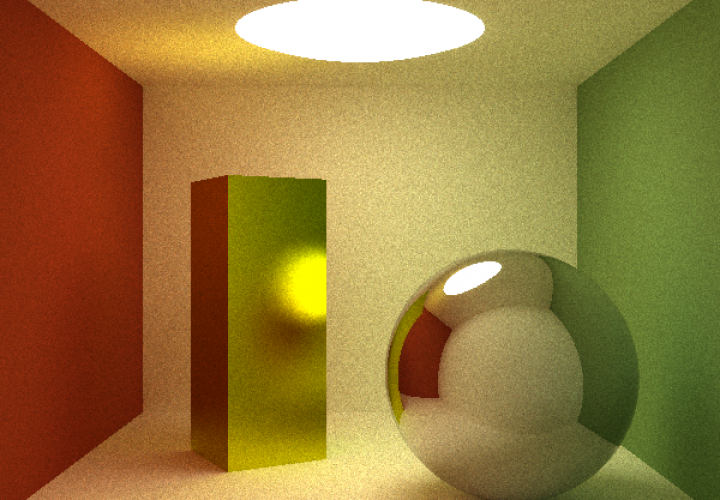
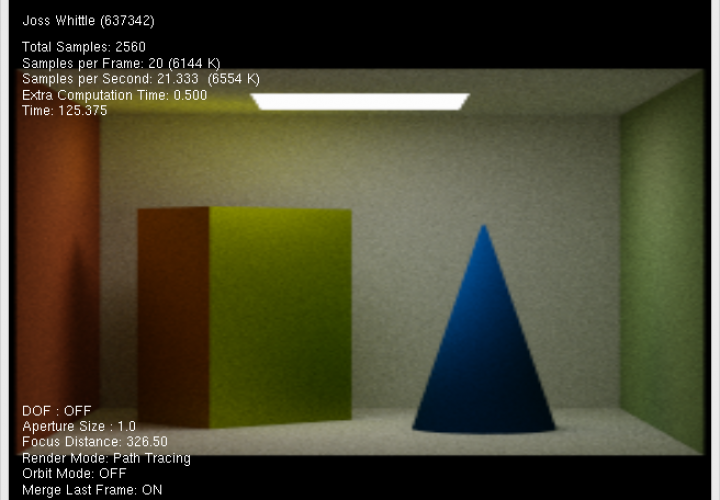
Here are some larger versions of the screen shots from my demos. I was really excite to get to show how far my research had come since the beginning of the year and actually running live during the presentation seemed to be the best way of doing that. Once I’ve got a bit more work done I’ll post a video!
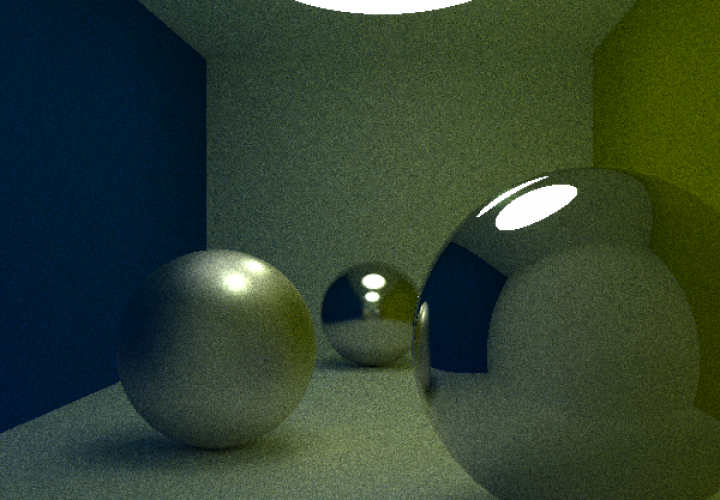
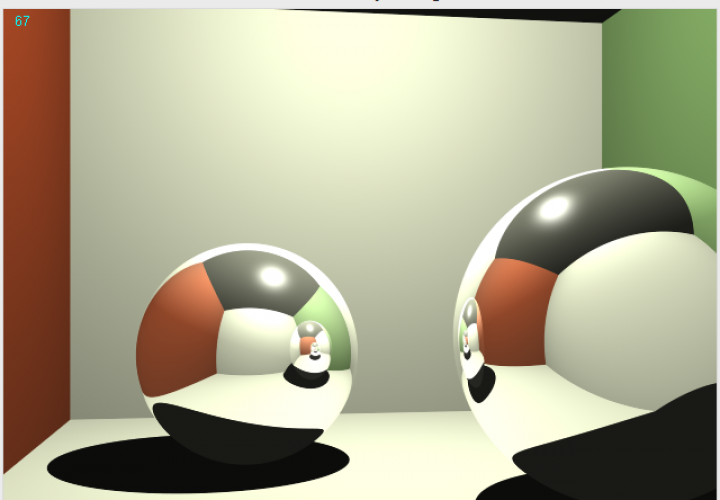
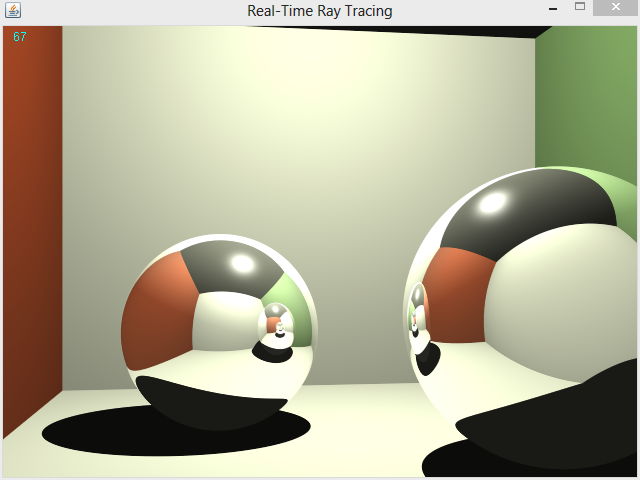
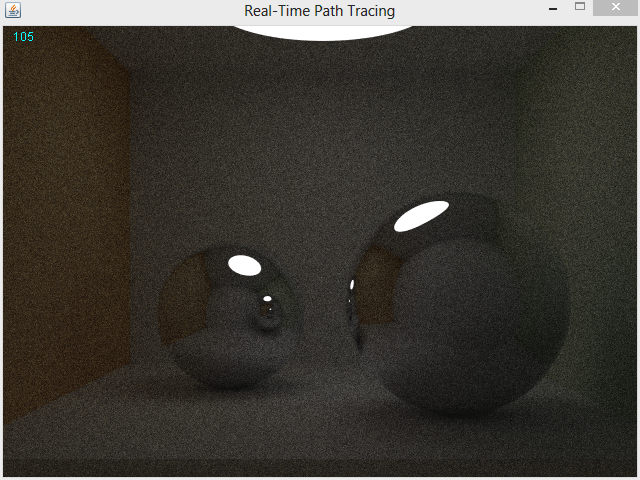
The camera can be controlled in real time using WASD for Slewing and Q & E for simple rotation. It’s entirely capable of looking up and down from a code standpoint I just ran out of time to get it ready and never mapped the up down to a key. The blue number in the top left is the number of samples computed; even though it is unnecessary to recompute the scene without a change in camera for Ray-Tracing I let it recompute anyway and jittered the exact location of the pixels by -0.5 < rand() <= 0.5 in X and Y to perform on the fly anti aliasing.
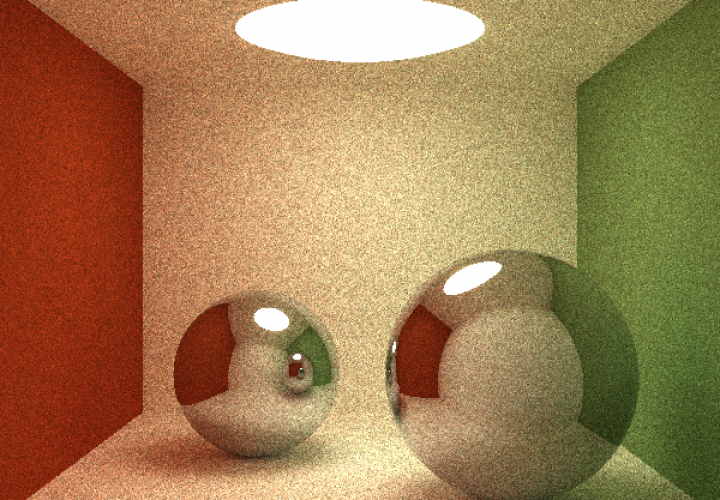
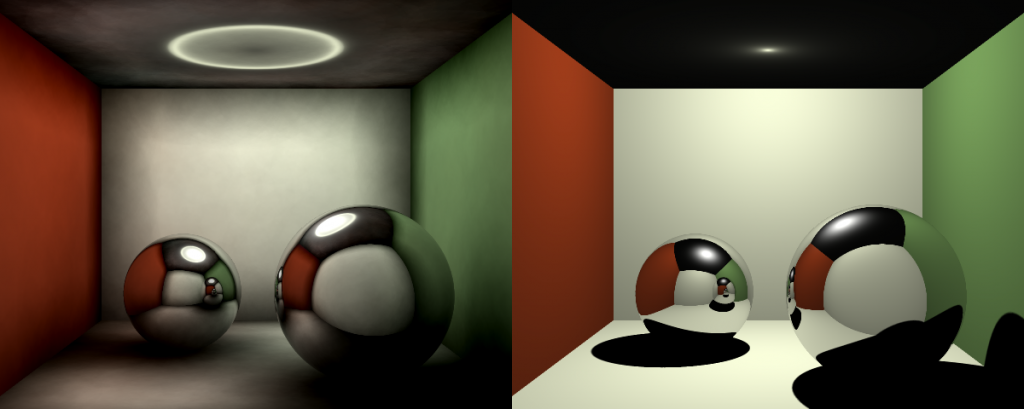
Real-Time Ray Tracing (20-30fps)
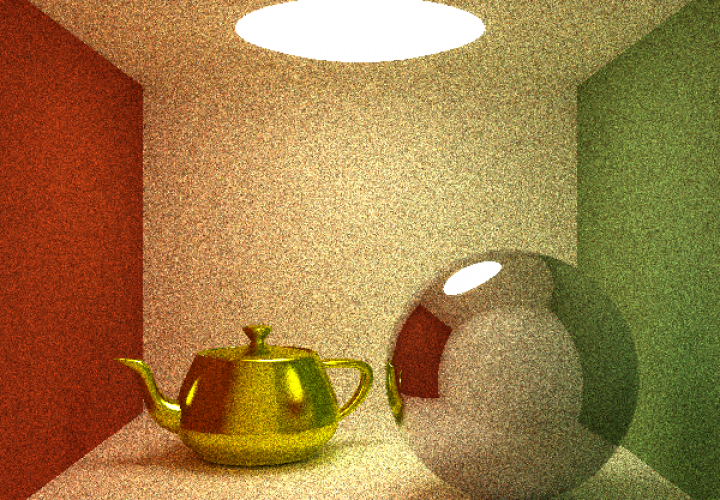
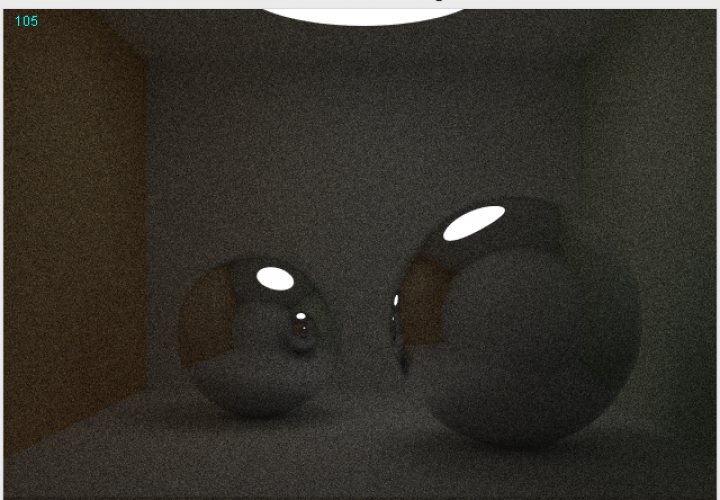
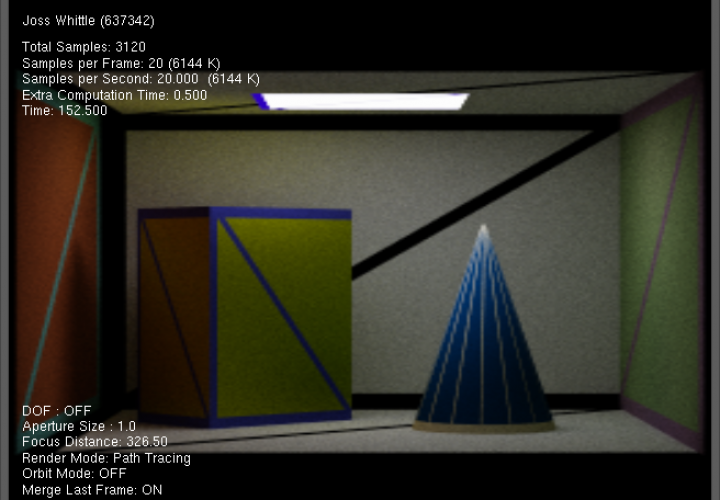
Real-Time Path Tracing (10fps’ish)
I had some problems with Path Termination using Monte-Carlo methods. Basically if one pixel returned almost immediately but the pixel next to it had to bounce 10+ times to compute it would crash the program (and the GPU :/ ) so to stop that happening during my demo I locked path termination to a simple MAX_DEPTH check. However, doing this meant the image on whole was a lot darker than it should be.
December 16, 2012 - 1:28 am by Joss Whittle
Dissertation Graphics Java University
Thought I’d post an update of my dissertation project seeing as I haven’t posted anything in a while and my interim document is now submitted. As part of my progress towards GPU Accelerated Path Tracing I’ve modified the Java Ray Tracer shown previously to render using the Path Tracing algorithm. It’s a bit slow and clunky but for the most part it gets the job done.
The only problem has been that Java just isn’t cut out for this type of work. I don’t want to flare up the whole “Java is not week, it’s not 1995 any more…” debate but path tracing is just too much work for Java to handle. Even when running with additional memory and with the work split across an 8 core i7 processor StackOverflow’s are all to common a sight, and when they occur they ruin the image being rendered.
Below are some comparison images showing Ray Tracing (left), Photon Mapped Ray Tracing (middle), and Path Tracing (right).
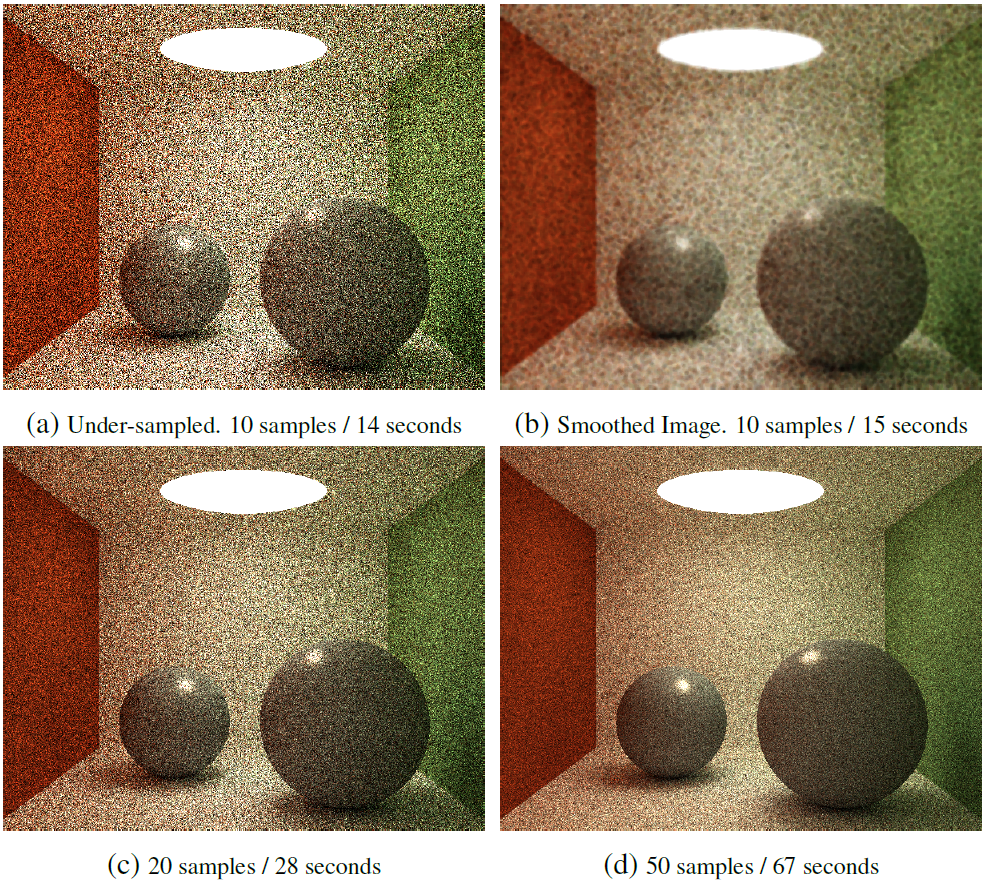
And finally, here are some images showing the results of an experiment I ran looking into the possibility of performing constant time filtering techniques to under-sampled images in order to make them an acceptable quality for moving scenes. With a lot of trial and error I found that a good technique was perform a relatively cheap 3×3 Box Blur filter to smooth out any of the large dark noise areas and then to apply a 3×3 or 5×5 Median Filter to help retain edge definition while still smoothing the remaining noise.
Tags
Global Illumination, Path Tracing, Ray Tracing
October 24, 2012 - 2:45 pm by Joss Whittle
Dissertation Graphics Java University
So this evening I thought I’d have a look’see at some of the more advanced ray tracing techniques that I didn’t have time to play with during my dissertation research. Namely, Depth-Of-Field and Specular/Glossy Reflections.
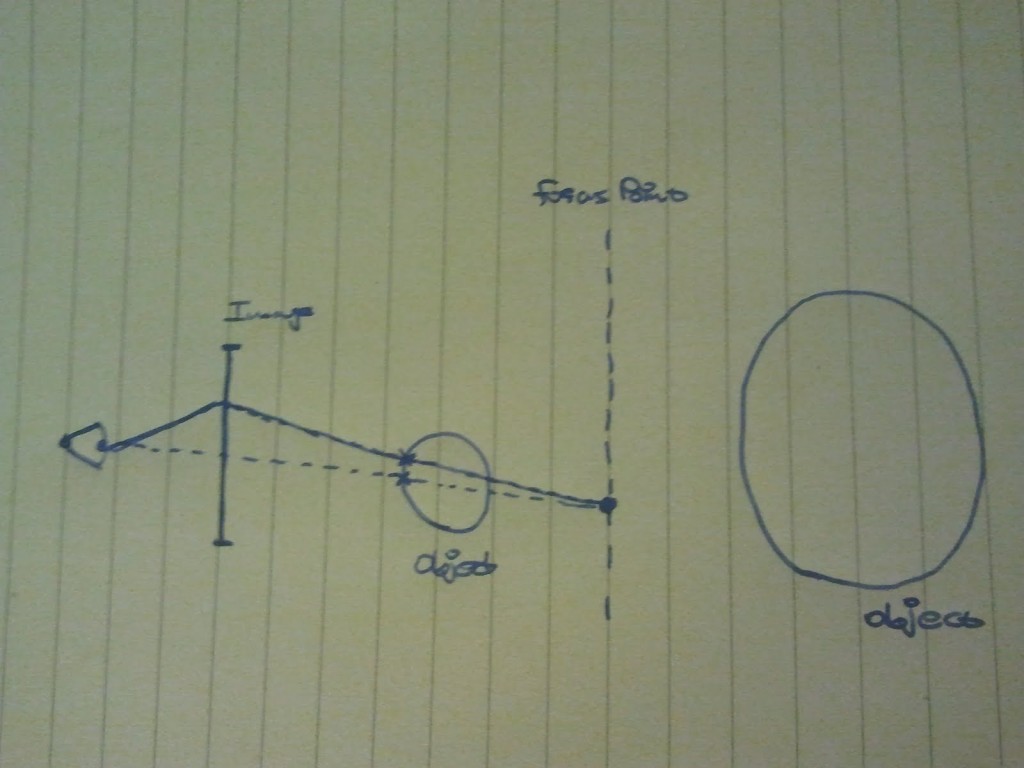
Essentially, Depth-Of-Field mimics the focus point of an eye or camera. Where there is a set focal distance where everything is crisp and in focus, and everything before and after the point becomes progressively more fuzzy as it gets further from that point. To perform DOF on a ray tracer we sample multiple rays for each of our original primary rays, each at a slight offset.
In the image below the dotted line represents the ‘true’ original ray path to the first intersection with a geometry. The solid line represents a sampled ray which has been offset from the origin by a random amount. Both rays pass through the same point in the focal plane which is exactly the focal distance away from both ray origins. Any objects at the focal plane will appear crisp and in focus while anything closer or further will appear out of focus. This can be visualized by the two rays (solid and dotted) intersections with the sphere. Each will return a different colour which when averaged will produce the blurred colour of the out of focus sphere.
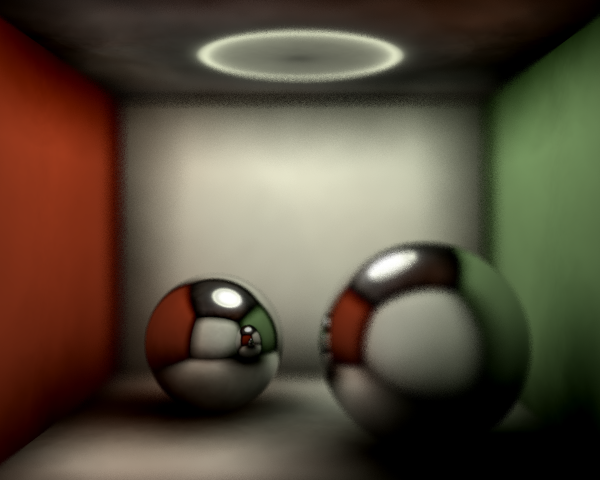
Here is the effect of a 3×3 unit aperture using 25 random samples per ray. As you would expect the render took around 25 times longer to produce the final output, which is worrying because truth be told we really need 100+ samples (closer to 300-500) to produce smooth and clear results without noise.
Here the quality of the DOF simulation has been upped, however I had to turn off photon mapping to accommodate the increased workload. Here we are rendering with a 3×3 unit aperture but at 100 samples per pixel.
I think tomorrow I might look at some of the more efficient ways of computing DOF. There’s a rather neat method with relies on storing the depth that each pixel is in the image and using that to apply a weighted blurring function after the image has been rendered. Cheating I know but it will be a hell of a lot faster than multiplying the entire workload of the render by an incredibly large sample size.
Finally, this evening I had a ‘brief’ (3 and a half hours of reading, coding, swearing, reading, debugging, reading, swearing, crying, and coding) go at trying to implement Glossy Reflections (otherwise known as specular reflections). Well… As you can see in the image below it all works perfectly and it wasn’t a colossal waste of time and energy…. …. …. I’ll try again another time.
Tags
Depth of Field, Global Illumination, Ray Tracing
October 23, 2012 - 6:32 pm by Joss Whittle
Dissertation Graphics Java University
As part of the research for my dissertation on GPU Accelerated Path Tracing I thought it would be a good idea to have another crack at writing a Ray Tracer. Unlike my previous ray tracer which was slow, clunky, and produce sub-par results I think this time I’ve done a pretty good job.
The new ray tracer includes a bunch of advanced features such as Texture/Specular/Normal Mapping, Octrees, Photon Mapping, and Adaptive Super-Sampling.
The part of the ray tracer I am most pleased with has got to be Photon Mapping, which is the process of simulating natural and secondary lighting.
Before rendering begins photons are fired out of the light sources in the scene and are bounced around as they collide with objects. At each collision a photon is posed a choice, “Do you die? Or do you keep on living?”, if the photon dies it takes the colour of where it intersected and it is stored in the photon map; on the other hand if the photon decided to live it picks up a little bit of light from its current position and a reflection vector is calculated, it is then fired off in the new direction.
In the image below you can see the effect of Photon Mapping (left) and what the scene would have otherwise looked like without it (right).
An implementation of the K-Nearest Neighbor algorithm was used for searching the photon map for nearest photons to a given intersection location. The algorithm was optimized by storing intermediate photon maps for each object in the scene (triangular meshes were treated as single objects).
The effects of different K values on the K-Nearest Neighbour algorithm can be seen below. The K values used (in order) were: K = 1, K = 10, K = 50, K = 100, K = 500
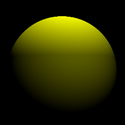
Lambert shading gives diffuse colour for objects such that the further away they point from a light source the darker they appear.
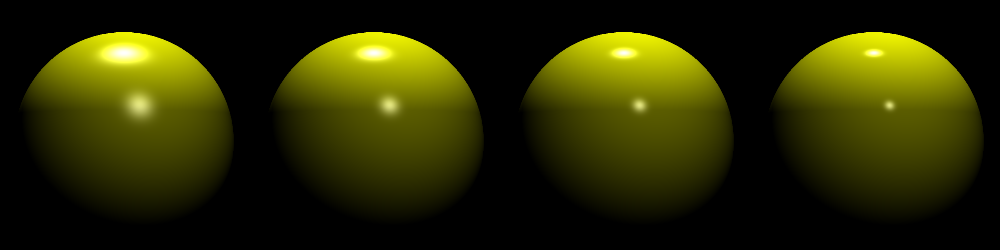
Phong shading calculates the Specular Highlights that appear on glossy objects. The phong shading is added to the diffuse (lambert) shading to yeild the final colour.
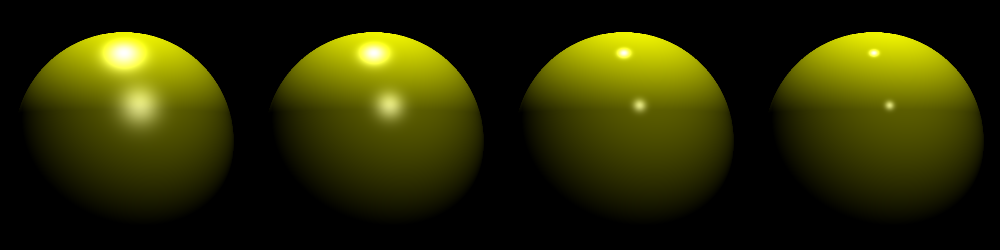
Blinn-Phong shading is an optimization on phong shading which is faster to compute while offering similar results. Phong shading computes specular highlights using an expensive reflection vector calculation; Blinn-Phong shading improves on this by computing a half-way vector between the view direction and the light source to use for estimating the specularity of the surface.
Tags
Global Illumination, Photon Mapping, Ray Tracing